So why would you chose to use Kerberos over NTLM and give yourself the extra work and head-aches? Well, besides from the fact that it is more secure and faster than NTLM, there are extra possibilities. An important function is the “third hop” possibility and the fact that only a single password is requested.
How does it work?
In short, the user receives a Master Ticket at logon, which is encrypted. When he or she wants to access resources from a different server (third hop) the Master ticket is presented in order to obtain a session ticket. No passwords will be required.
Two great information papers on Kerberos can be found at Moron's Guide to Kerberos and Kerberos Technet.
Now that we know what it is, what it does and how, we can start implementing it.
I suggest to first set Kerberos up in a test environment if you are not secure about it. I’ve created a domain just for this purpose. The setup of the DC and IIS are not documentated in this blog.
First step is to make sure that the functional level of our domain is windows 2003.

If your domain in not W2K3, Kerberos is still possible, but some steps will differ slightly. Don’t upgrade your domain without fully knowing the impact!
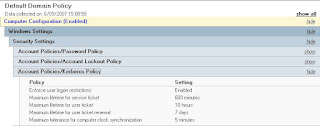
Second step is verifying the Kerberos policy in the default domain policy (or any other policy on domain level). By default Kerberos is enabled on the computer accounts, but this way we are sure.
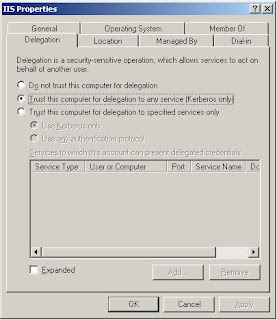
Thirdly, we can now trust our IIS server (name IIS in this case) for delegation. Right click on the IIS server and choose Kerberos on the Delegation tab.
As a fourth step, we create a service account in the domain which will be used for authentication between resources.
The fifth step is threefold, which is where it start getting tricky. It’s the little things that make it difficult. These steps are done on the web server.
First we grant the newly created service account the “Log on as a service” in the “Local Security settings” under “User Rights accessment”.
Second, we add the service account to the local group IIS_WPG.
Then we open the IIS manager. In the properties of the Application pool we change the appl pool identity from the default “Network service” to the newly created service account.
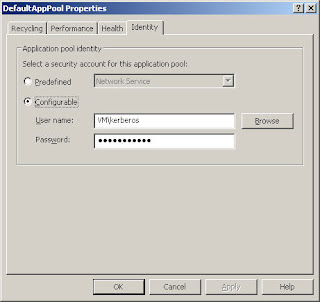
Don’t forget to reset the IIS after these steps.
The sixth and last step to the implementation of Kerberos is the creating of the setspn’s, always fun …
Make sure the W2K3 support tools are installed on the DC, open a command screen and run the commands to add the spn. This will of course vary depending on the situation: Setspn –a http/
Notice the http/ not http://, it's a stupid little thing, but it took me hours to figure it out …
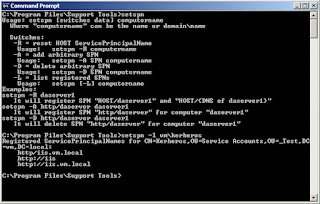
With the command setspn –l
Open the concerned website on a client computer and check the security event log on the web server. You should see something that looks like this:
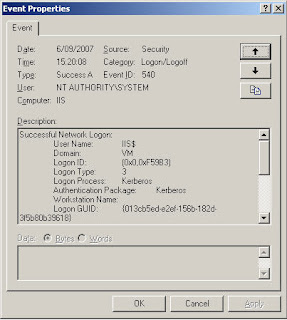
And that’s how simple it can be when you see it all drawn out … :)


1 comment:
SUPPPERB AND SIMPLE TO FOLLOW.. Big thanks.. was pushing this search since last 45 minutes ,, u saved up.
Post a Comment